Tips for Practising a New Style
It is best to practice frequently and in a constructive and methodical way. By setting yourself a target for the practice session you will be more focused and achieve better results.
Practising a new style (Italic Minuscules)
Here is an approach you could use to learn a new lettering style. We are not going to explain how to write that style but a method you could use to practice the style.
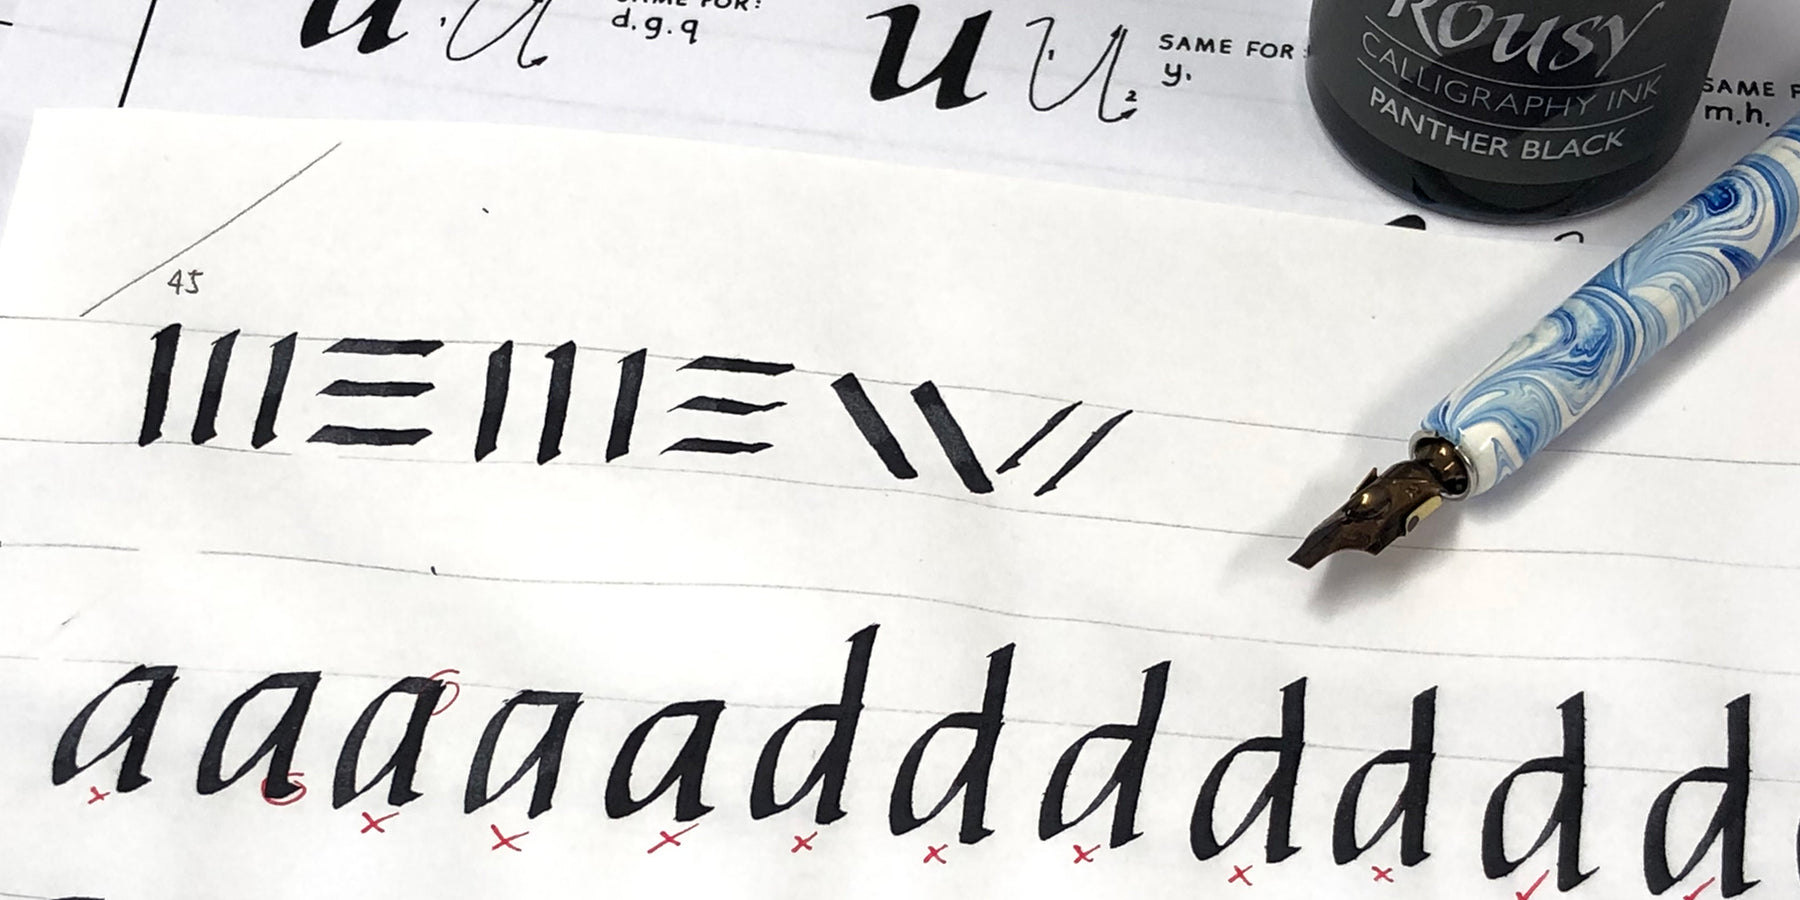
When writing Italics, the nib is held at 45° to the write-line. So, start by constructing a 45° line at the top left of practice paper. Now rule up the paper. It’s best to write large at first and at a later stage reduce the x-height. An x-height of about 15mm is a good letter height to start with.
When practising, you do not want to be distracted with any nib and ink flow problems, so make sure your nib and reservoir are correctly fitted and the ink is flowing nicely from nib. We are now ready to start writing ….
Start by loading the nib with ink, hover it over the 45° line to make sure the pen is at the correct angle.
It’s best to warm-up before practising properly. One way is to produce a few vertical and horizontal lines to get yourself in the right frame of mind and to check the ink flow.
Italic letters can be grouped together based upon similar characteristics. The objective of this practice session is to work on the ‘a’ group of letters. It is difficult to get the consistency of these letters because they are all based on a circle shape.
Start by writing out a line of warm-up pen strokes. Now write the letters a, d, g etc.
Now look carefully at your letters comparing them to the alphabet sampler you are using. Analyse each letter and if you think it is acceptable place a small tick next to the letter. If the letter was bad, mark it with a small cross. Look carefully at each of these letters; why are they wrong? are the too fat or too thin or the wrong shape?
At first there will be whole lines of letters with a cross against each of them. As you write more lines marking each letter more and more ticks will start to appear. This technique can be used with each of the other letters in the group. By the end of the session you will have produced a few lines of writing of each letter in the group. By analysing and marking EACH letter written, quite quickly your work will improve.
This method is used for each group of letters. Finally, it’s a good idea to date your work and keep all the practice sheets for a while so at a later date you can go back through them and see how much progress you have made.